
MailChimp is a powerful tool to help you keep in touch with your subscribers. It can handle your website or blog’s subscriptions through every step including registering subscribers, sending emails, and also provides subscriber analytics that can help you improve your email marketing plan.
Since MailChimp also offers a free plan, it makes it one of the top email marketing platforms we recommend to small websites or blogs with less than 2,000 subscribers.
MailChimp offers you the ability to send beautifully designed responsive emails to all of your subscribers at once. It also allows you to schedule emails as well.
Another feature offered is the RSS email feature. With this feature, all you have to do is set up your email campaign once, and MailChimp will work for you until you cancel your campaign. MailChimp will use your website or blog’s RSS feed link to automatically import any new posts and send them to your subscribers based on a schedule you set up. This could be daily, weekly, or even multiple days per week.
In some cases, you may want to hire a MailChimp Expert to help you get your campaigns set up. If you decide to go this route, giving out your account credentials is not an option. That is why MailChimp has provided the ability to add users and assign them to specific user types (roles) for your account.
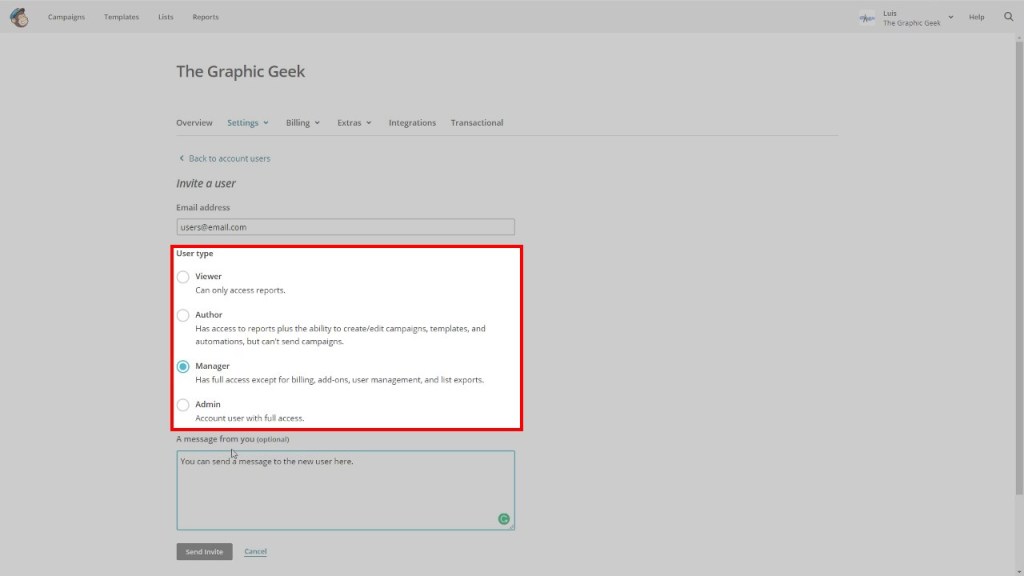
There are five different user types: Owner, Admin, Manager, Author, and Viewer.
Let’s take a look at each role individually.
Owner User Type
The “Owner” user type is reserved solely for the person who signed up the account. This role cannot be given to any other users. This role has complete access to the MailChimp account including the ability to close the account permanently.
Admin User Type
The “Admin” user type is a role used for users who will have full access to the account without the ability to close the account. This role is generally given to a person who will be in charge of accessing reports, creating campaigns, sending emails, adding and removing subscribers, etc.
Manager User Type
The “Manager” user type is given to users who will help manage your MailChimp account. This role has access to all account features except billing, add-ons, user management, and list exports.
Author User Type
The “Author” user type is a role given to users who can help design and edit email templates, create or edit campaigns, automation such as triggers and responders. This role cannot, however, send campaigns.
Viewer User Type
Finally, there is the “Viewer” user type. As a Viewer, this role can only view reports. This role is perfect for a marketing specialist to be able to analyze the statistics of your email campaigns and help you improve your email marketing plan.
How to Add a User and Assign a User Type
Adding a user to your MailChimp account is very simple and quick. To do this just follow the steps below:
Step 1: Log into your MailChimp account.
Step 2: Log in using your account username and password.

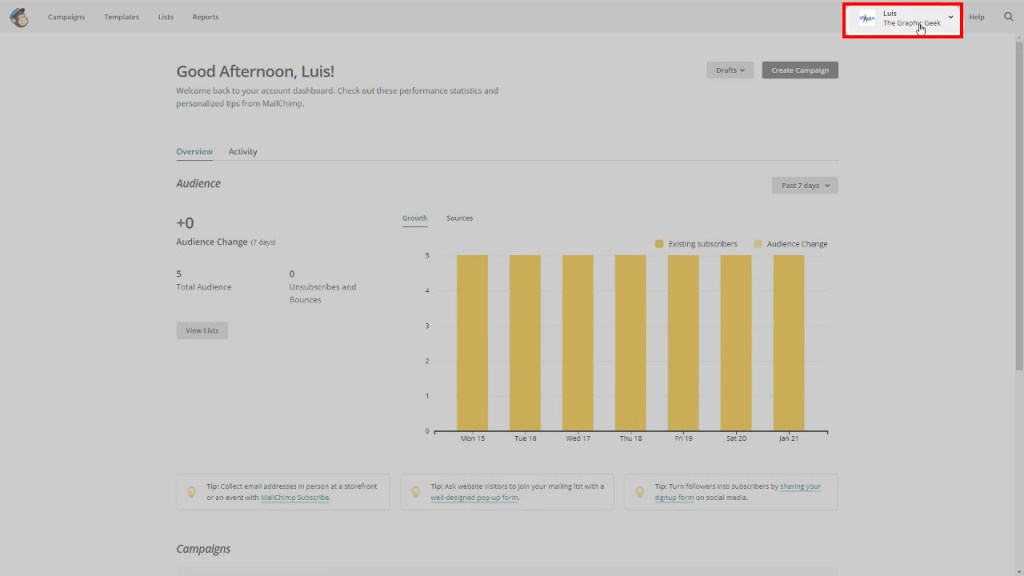
Step 3: Once logged in, click on your username in the upper right corner to display a drop-down menu.
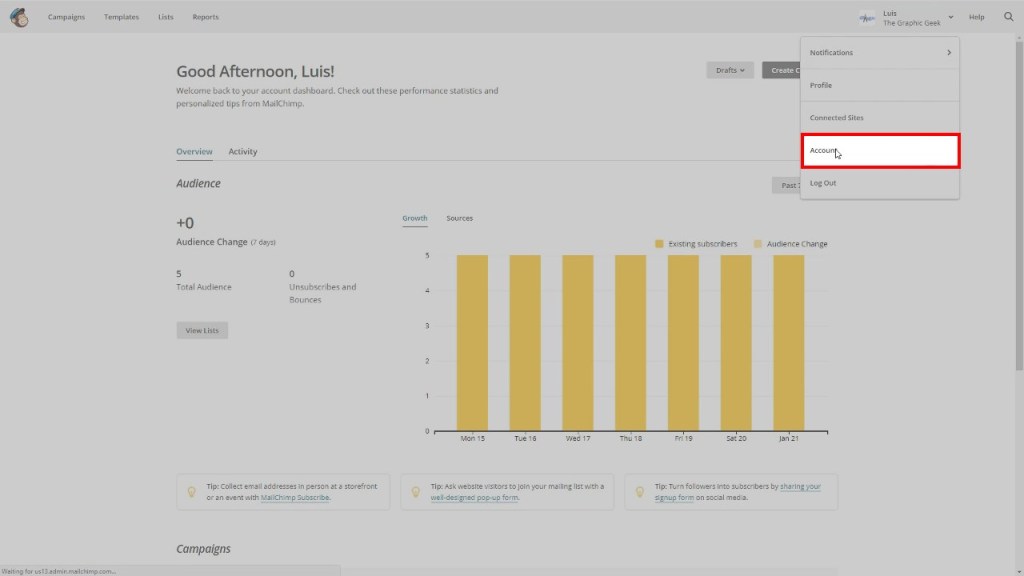
Step 4: In the drop-down menu, click on “Account”.
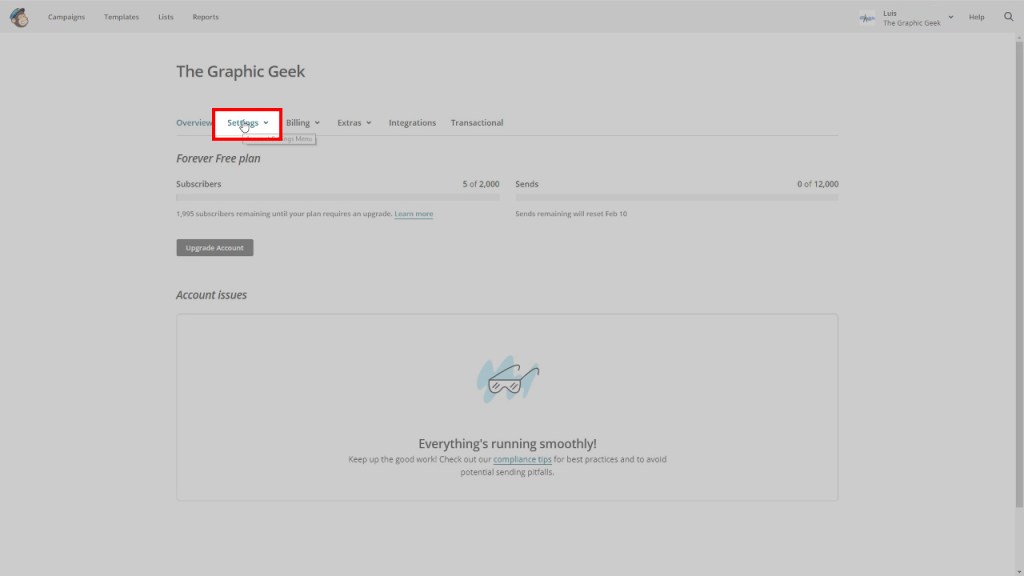
Step 5: On the Account page, you should see some options toward the top of the page. Find the “Settings” option and click on it to reveal another drop-down menu.
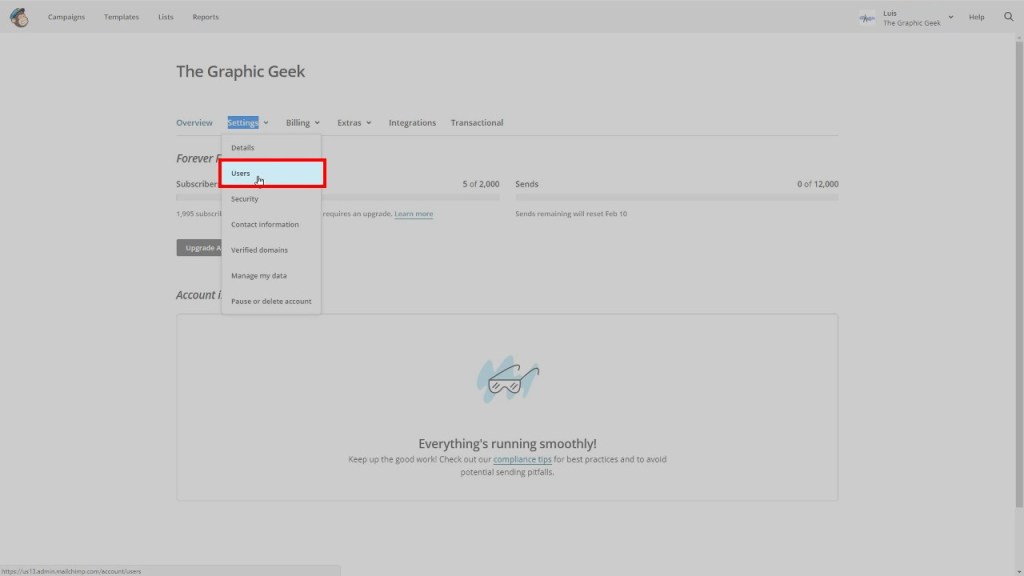
Step 6: In the Settings drop-down menu, click on “Users”
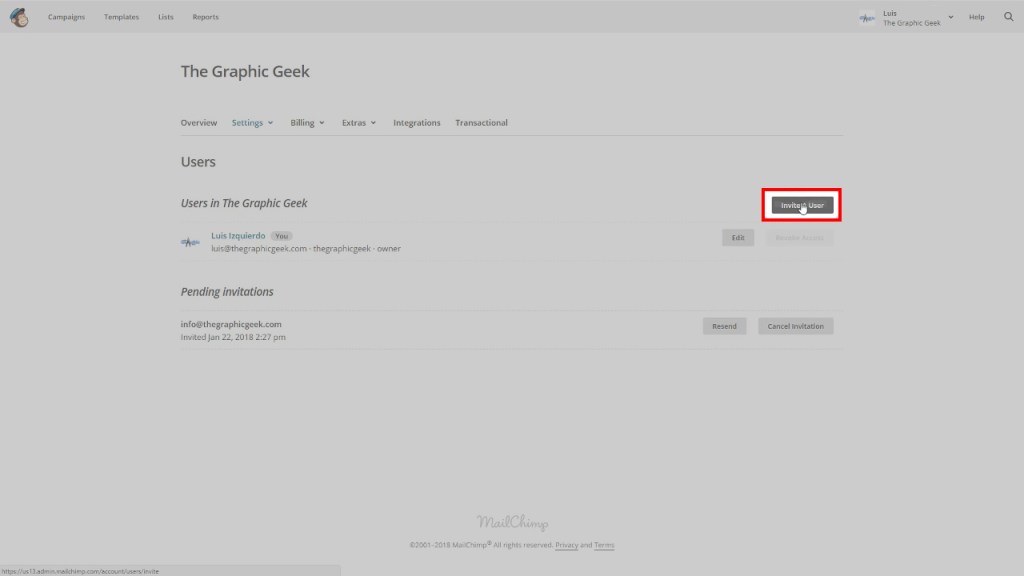
Step 7: On the “Users” page, find the dark grey button labeled “Invite A User” on the right and click it.
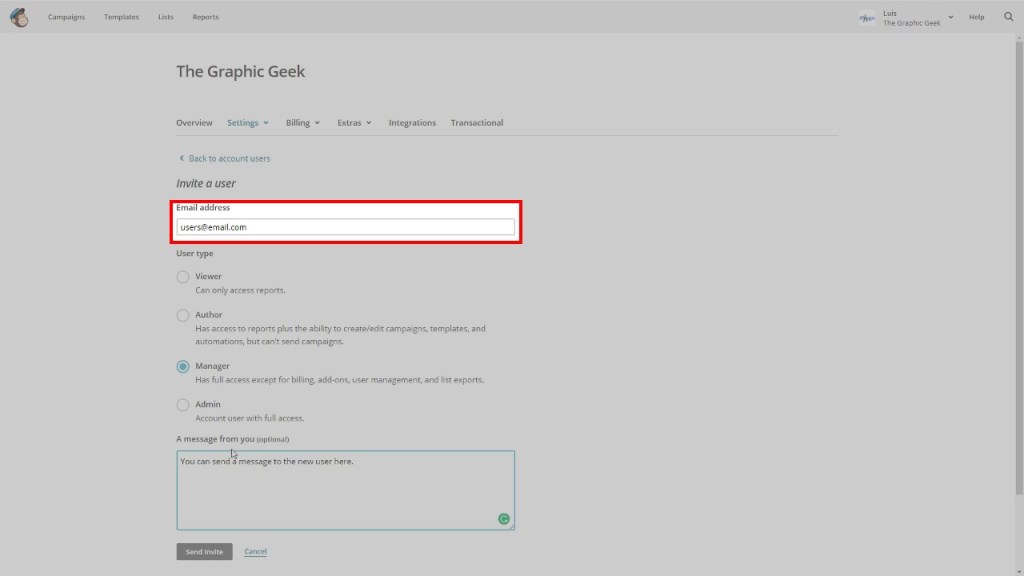
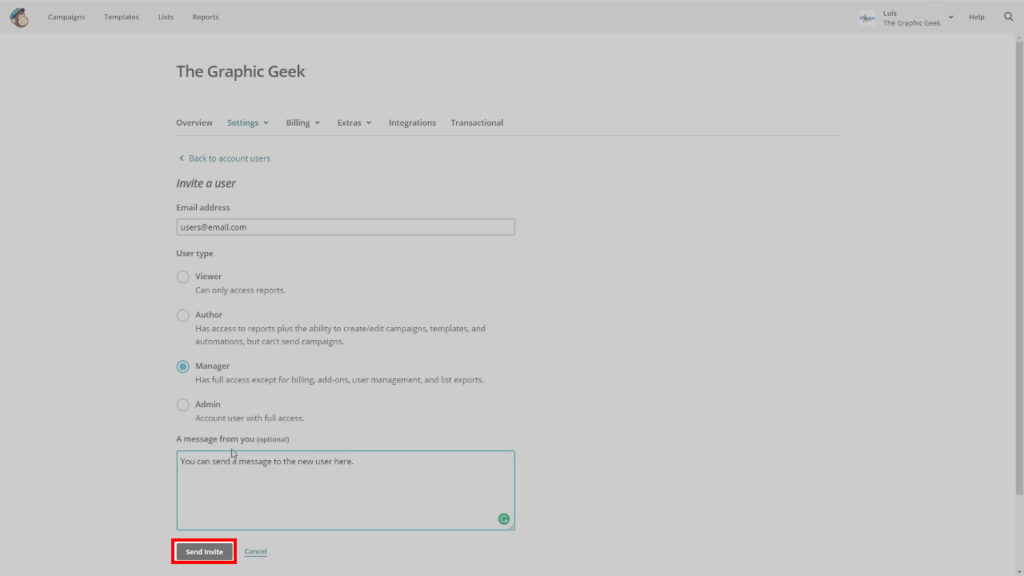
Step 8: In the first field, enter the email address of the user you want to invite.
Step 9: Next, select the user type you want to assign to this user.
Step 10 (optional): You can optionally send the new user a message in the message box at the bottom of the form. Adding a new user does not require a message. This message will appear in the invitation email sent to the new user.
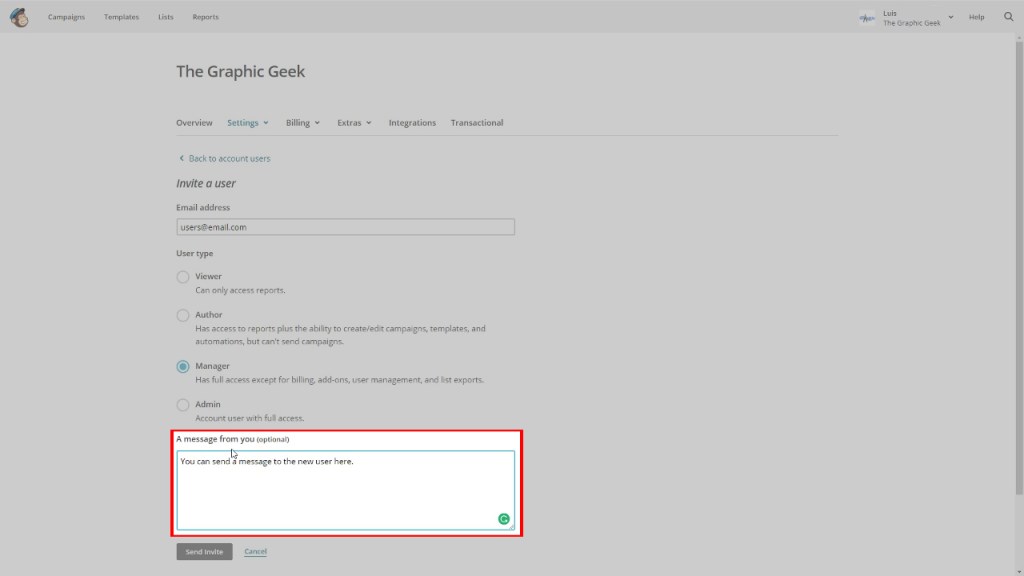
Once the form is complete, click the “Send Invite” button.
Once you have sent the invite, the new user will receive an invitation email from MailChimp at the email address you entered. The user will need to open the email and accept the invitation to get access to the account and will then be able to log into your account with their own credentials.
For a visual tutorial on how to add a user to your MailChimp account, see the video below: